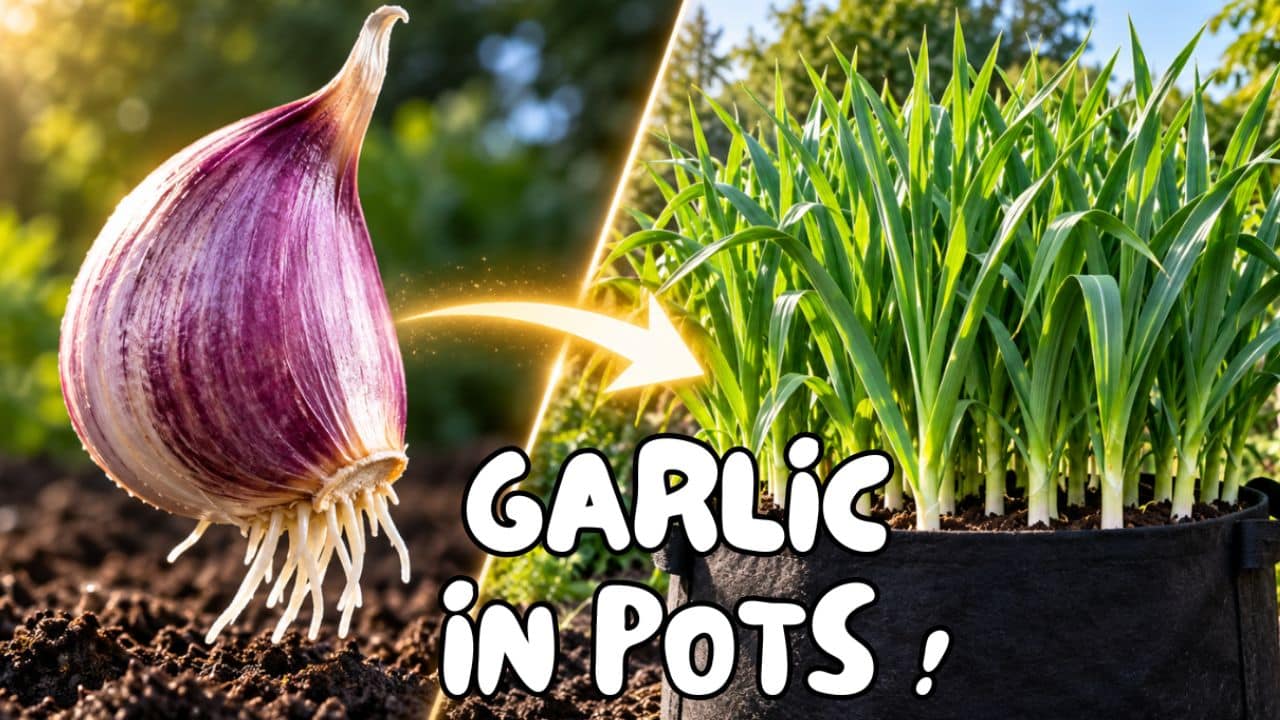
Learning how to grow garlic in pots is an easy way to produce flavorful, homegrown bulbs—even if you do not have a garden. Garlic grows very well in containers, and you can use a traditional pot, a planter, or a fabric grow bag on a balcony, patio, or sunny doorstep.
I am planting organic purple garlic in a fabric grow bag, but the same method works with many other varieties and containers. Fall is usually the best time to plant garlic because the cloves benefit from a cold period before they begin forming bulbs. With the right container, loose soil, plenty of sun, and careful watering, each healthy clove can develop into a complete bulb.
How to Grow Garlic in Pots: What You Need
You do not need much equipment to get started. Gather the following:
- Healthy garlic bulbs sold for planting
- A pot or fabric grow bag with drainage holes
- Quality potting mix
- Aged compost
- Perlite or fine pumice, if the mix is heavy
- A shallow dish of water, if you want to pre-root the cloves
- A balanced or nitrogen-rich organic fertilizer for spring growth
Avoid using ordinary garden soil by itself. In a container, it can become dense and waterlogged, which limits root growth and increases the risk of rot.
Choose the Right Garlic for Container Growing
For the best results, buy certified seed garlic from a nursery, garden center, or reliable local grower. Grocery-store garlic may have been treated to delay sprouting, and it may not be adapted to your local climate. Organic grocery-store garlic can sometimes grow successfully, but planting stock is the more dependable choice.
Garlic is generally divided into two main types:
- Hardneck garlic is well suited to colder climates. It usually produces fewer but larger cloves and develops a flowering stem called a scape.
- Softneck garlic tends to perform better in milder climates. It often stores for longer and can be braided after curing.
Many purple varieties are excellent for fall planting, but color alone does not tell you whether a variety will thrive in your area. Choose one recommended for your climate. If you live somewhere with mild winters, look for a low-chill variety or buy pre-chilled planting garlic.
When to Plant Garlic in Pots
In regions with cold winters, plant garlic in fall, usually a few weeks before the ground would normally freeze. This gives the cloves time to establish roots before winter while keeping top growth limited.
In very mild climates, garlic is often planted from late fall through winter. Spring planting is possible, but the bulbs may be smaller because the plant has less time to grow. Always use your local frost dates and the seed supplier’s instructions as your guide.
One advantage of growing garlic in a pot is flexibility. During exceptionally harsh weather, you can move a manageable container to a sheltered, unheated location. Garlic still needs a cool dormant period, so do not bring it into a warm house for the winter.
Step 1: Select and Separate the Cloves
Gently break the garlic bulb apart shortly before planting. Keep the largest, firmest cloves, as they generally produce the strongest plants and the best-sized bulbs.
Discard any cloves that feel soft or show mold, damage, or dark spots. Try to leave the thin papery skin intact because it protects the clove from damage and excess moisture.
Before planting, identify the two ends:
- The flat basal plate is where the roots grow and must face down.
- The pointed end is where the green shoot emerges and must face up.
Step 2: Pre-Root the Garlic Cloves (Optional)
Garlic cloves can go directly into the pot, so pre-rooting is not required. However, I enjoy using this simple step because it lets me see which cloves begin growing.
Place the cloves upright in a shallow dish and add just enough water to touch the flat base. Do not submerge the cloves. Too much moisture can encourage them to rot.
Keep the dish in a bright place and replace the water every day. Small roots may appear after a few days, sometimes accompanied by a green shoot. Plant the cloves promptly once roots appear; if you wait too long, the delicate roots can become tangled or break during planting.
If you prefer the simplest method, skip the water and plant healthy cloves directly in moist potting mix.
Step 3: Choose the Best Pot or Grow Bag
Your container should be at least 8 to 10 inches (20 to 25 cm) deep, although a depth of 10 to 12 inches (25 to 30 cm) gives the roots and bulbs more comfortable growing room. Width depends on how many cloves you want to plant. Allow 4 to 6 inches (10 to 15 cm) between cloves and keep them a few inches away from the sides.
Drainage is essential. A solid pot must have several unobstructed holes in the bottom. Never leave it standing in a saucer full of water.
I use a fabric grow bag because it drains easily and allows air to reach the root zone. This helps prevent soggy soil. The trade-off is that fabric dries faster than plastic or glazed ceramic, especially in warm, windy weather, so its moisture level needs checking more often.
Step 4: Prepare a Loose, Fertile Potting Mix
Garlic grows best in rich, loose soil that retains a little moisture but drains freely. My basic container mix is:
- Two parts quality potting soil
- One part aged compost
If the mixture feels dense or sticky, add some perlite or fine pumice. The finished mix should crumble easily in your hand rather than forming a heavy, wet lump.
Fill the pot while leaving a little space below the rim. This makes watering easier and leaves room for a thin layer of mulch if your climate calls for one.
Step 5: Plant the Cloves
Make the planting holes before placing any pre-rooted cloves so that you do not damage their young roots. Set each clove flat-side down and pointed-side up.
Space the cloves 4 to 6 inches apart. Wider spacing gives each plant more room to form a good-sized bulb. Cover the tips with approximately 1 to 2 inches (2.5 to 5 cm) of potting mix. In a very cold climate, slightly deeper planting and a layer of mulch can provide extra protection.
Pull the mix gently over the cloves and press it down lightly. Do not compact it: water, oxygen, and roots must be able to move through the soil.
Step 6: Water Thoroughly—but Avoid Soggy Soil
Water the container well immediately after planting. This settles the mix around the cloves and removes large air pockets. The soil should feel evenly moist, not muddy.
After the first watering, wait until the top inch of soil begins to feel dry before watering again. The exact schedule will depend on temperature, rainfall, wind, container material, and plant size. Garlic needs consistent moisture during active growth, but waterlogged soil can cause rot.
During cold or rainy periods, you may need to water very little. As the weather warms and the leaves grow, check the pot more frequently—particularly if you are using a fabric bag.
Step 7: Give Your Garlic Plenty of Sun
Place the container where the plants will receive at least six hours of direct sunlight each day; eight hours is even better when possible. Strong light helps garlic produce the energy it needs to form full bulbs.
If only one side of the container receives strong light, rotate the pot occasionally so the plants grow more evenly. Keep weeds out of the container because they compete for water and nutrients.
How to Care for Potted Garlic Through the Seasons
Garlic is fairly low-maintenance once planted, but a few simple habits can improve the harvest.
Protect it during winter
In cold areas, apply a light layer of clean straw or shredded leaves after planting. Mulch helps limit repeated freezing and thawing. Make sure the container can still drain, and remove or thin the mulch in spring if it becomes wet and compacted.
Feed during active leaf growth
Healthy leaves support bulb development. In spring, feed container-grown garlic with a fertilizer that supplies nitrogen, following the product label. Because nutrients wash out of pots more quickly than garden beds, a second light feeding may be useful. Stop high-nitrogen feeding once the bulbs begin to swell; too much late nitrogen can favor leaves instead of bulbs.
Remove hardneck scapes
Hardneck varieties produce curly flower stems called scapes in late spring or early summer. Cut them while they are young and tender so the plant can direct more energy toward the bulb. The scapes are edible and have a fresh, mild garlic flavor.
Watch for common problems
Yellowing leaves late in the season are normal, but early yellowing can indicate overwatering, poor drainage, nutrient stress, or disease. If plants look weak, check the soil moisture first. Avoid repeatedly growing garlic or other alliums in the same old potting mix, and start with clean, healthy planting stock to reduce disease risk.
Three Essential Tips for Success
If you remember only three things, make them these:
- If you pre-root the cloves, let only the flat base touch the water.
- Plant each clove with the pointed end up in loose, fast-draining soil.
- Give the container plenty of sun and moisture without keeping it soaked.
Growing garlic in containers takes patience, but very little space. Once the shoots appear, you can follow their progress through winter and spring until the leaves begin to dry and harvest time arrives. Whether you choose white, pink, or purple garlic, the reward is a supply of aromatic bulbs grown just outside your door.