
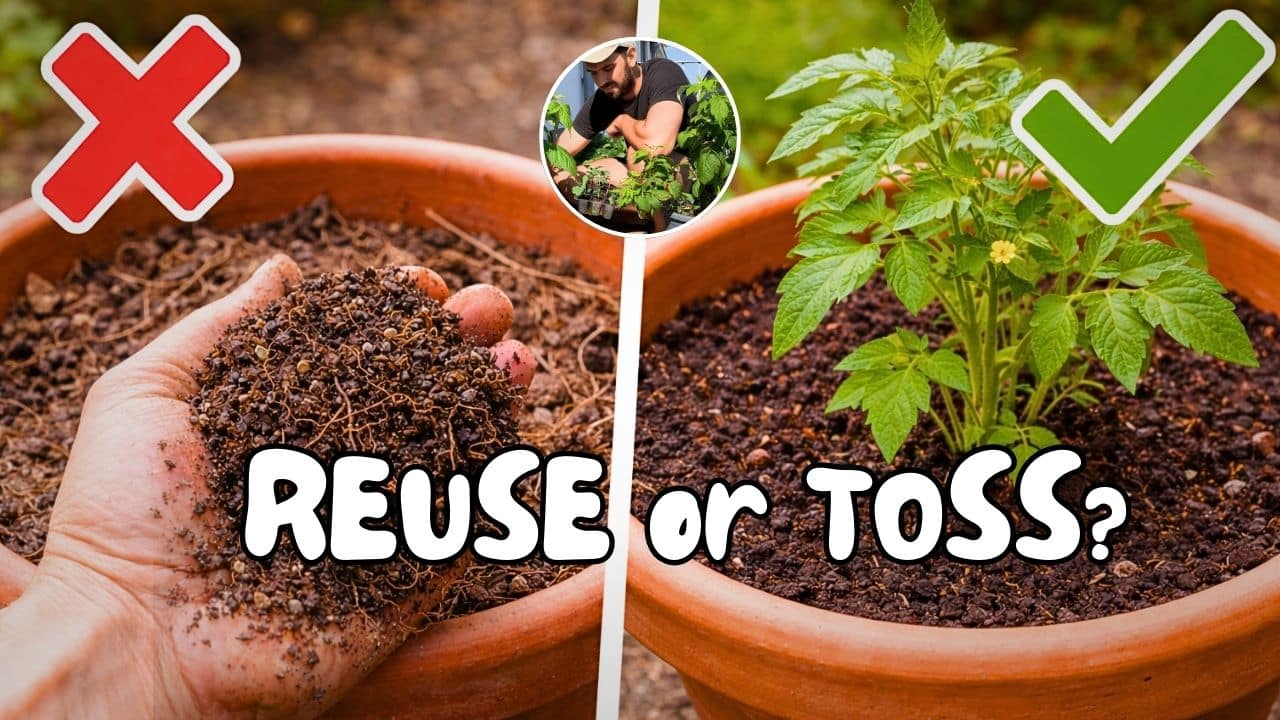
Stop buying new potting soil every year — do this instead.
If you’ve been emptying your pots at the end of the season and heading straight to the garden center for a fresh bag, I get it. It feels like the responsible, clean-slate thing to do. New season, new soil, fresh start. But here’s the truth: you’re spending money you don’t need to spend, and in most cases, you can reuse soil from pots just fine — your old mix is perfectly salvageable.
The problem isn’t that the soil is “used up.” The problem is that after a full growing season, it gets compacted, waterlogged, and depleted. The structure breaks down, the nutrients get consumed, and the biology slows. It looks rough. But it’s not trash — it just needs a reset.
So, Can You Really Reuse Soil from Pots ?
The short answer is yes — and it’s something experienced gardeners do all the time. Reusing is a smart choice when your previous plant was healthy and you’re willing to take a few minutes to refresh the mix before replanting. Done right, revived potting soil performs just as well as a fresh bag — sometimes better, because it already has an established microbial ecosystem.
That said, there are real situations where reusing is a bad idea. Skip the reuse entirely if:
- The previous plant died from a fungal disease like root rot — spores linger in soil for months.
- You had a serious pest infestation, especially fungus gnats or root-knot nematodes. Eggs survive in the mix.
- The soil smells sour, swampy, or off — a sign of anaerobic bacteria buildup.
- You’re starting seeds. Seedlings need a sterile, light medium that old soil can’t reliably provide.
For everything else? Here’s how to bring it back to life in 3 steps.
The 3-Step Soil Reset
Step 1 — Empty the Whole Pot
Don’t just top it up with a handful of fresh mix and call it done. Pull everything out completely. Dump the soil onto a tarp or into a wheelbarrow and go through it with your hands. Break up the clumps — you’ll often find the center of the root ball is still dense and compacted even after watering.
Remove the large, old roots. They’re done, they won’t decompose quickly, and they take up space that roots need. But keep the small, hair-thin ones — they’ll break down on their own and feed the mix as they decompose, adding a tiny but useful boost of organic matter.
This step is the foundation. You can’t properly rebuild structure or reload nutrients into a pot that’s half-full of tangled roots and compressed layers. Start clean.
Step 2 — Rebuild the Structure
After a season of watering pressure, heat cycles, and root growth, potting soil loses the one thing that makes it good: its fluffiness. That light, airy quality isn’t just about feel — it’s about oxygen reaching the roots. Compacted soil means poor gas exchange, which slows growth and invites disease.
The fix is simple. Mix in 10–15% fresh potting soil to restore some of that original texture, then add either perlite or coco coir depending on what you’re growing:
- Perlite — volcanic glass granules that create air pockets and dramatically improve drainage. Best for plants that hate sitting in wet soil (succulents, herbs, Mediterranean plants).
- Coco coir — made from coconut husks, it holds moisture while staying light and airy. Better for thirsty plants like vegetables, ferns, or tropicals.
You don’t need much. A 10–15% addition by volume is enough to bring the mix back to something roots want to grow through.
Step 3 — Reload the Nutrients
This is the step most people either skip or get wrong, and it makes the biggest difference. After a full growing season, your soil is largely depleted. The plants took what they needed, the watering leached the rest, and very little is left for the next round.
Add two generous handfuls of compost or worm castings per pot. Mix it in thoroughly.
Here’s why this works better than just pouring on liquid fertilizer: compost and worm castings feed slowly and consistently over the entire season. They release nutrients as the soil biology processes them — which means your plants get a steady, natural supply rather than a spike followed by nothing. They also reintroduce beneficial microbes and fungi that make nutrients more available to plant roots. No bag of synthetic fertilizer does that.
If you want to go one step further, add a small amount of slow-release granular fertilizer on top of the compost. But honestly, for most container plants, the compost alone is enough.
How Long Can You Keep Reusing Potting Soil?
Most quality potting mixes hold up well for two to three seasons when refreshed like this between each one. The organic material — peat moss, bark, coco coir — breaks down progressively, and after about three years, there’s simply not enough structure left to recover. The soil gets dense no matter what you add.
A practical approach for year two or three: blend your old mix 50/50 with fresh potting soil instead of replacing everything. You get the benefit of established biology from the old mix combined with the structure and nutrients of the new one. It stretches both further and costs half as much.
One Thing to Watch Out For: Vegetable Rotation
If you grew tomatoes, peppers, eggplant, or any other nightshade vegetable in a pot, don’t reuse that soil for the same plant family the following year. Nightshades are heavy feeders that strip specific nutrients fast — particularly calcium and nitrogen — and they leave behind soil-borne pathogens that build up with each successive planting. Diseases like early blight and fusarium wilt can survive in soil for years.
The fix is easy: rotate. Use that soil for flowers, herbs, or a completely different vegetable family. The pathogens that target nightshades won’t affect basil or petunias. And your tomatoes, replanted into fresh or properly refreshed soil, will be far less disease-prone.
Reusing potting soil isn’t a shortcut — it’s the smarter, more sustainable approach. The soil in your pots isn’t worn out; it’s just tired. Empty the pot fully, restore the structure with perlite or coco coir, and reload the biology with compost. Three steps, done in under fifteen minutes, and your plants will thrive just as well as they would in a brand new bag.
Your wallet will thank you. So will your plants.